


What you will need
- For bag, about 1 meter of 136cm wide heavy-weight cotton fabric
- For lining, about 1 meter of lightweight cotton fabric
- medium or heavy weight iron-on interfacing
- matching sewing thread
- trim (optional)
Pattern

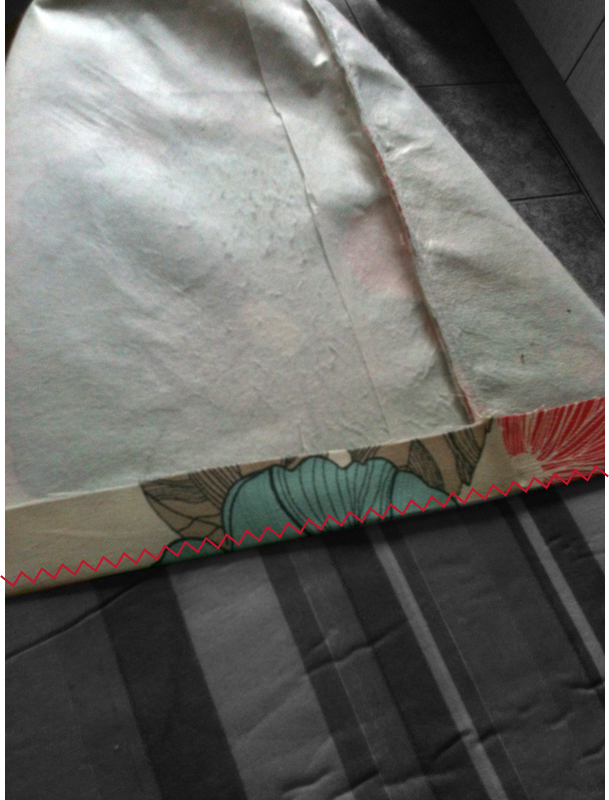
PLEASE NOTE = All measurements are in CM or MM. Seam allowance included. I have used Zig Zag lines for demonstration of stitch placement but please read instructions for actual stitch used.
Cutting out
From bag fabric:
- Cut 2 bag pieces on the fold using the pattern above
- Cut 1 pocket piece 20 x 15cm
- Cut 2 handle pieces 15 x 70 cm
From lining fabric:
- Cut 2 bag pieces on the fold using the pattern above
To create my pattern pieces I just taped A4 sheets of paper together to form the right measurements, then pinned the patterns onto fabric and cut out around, but you could use pattern paper, brown paper, or just draw your patterns directly onto fabric using quilters chalk.


Step 1 - Fuse your interfacing to the 2 main bag pieces.
Step 2 - With right sides together, pin the side and bottom edges of the 2 bag pieces together, leaving the bottom corners open. Machine stitch these 3 long edges. I used overlock but you could use zig-zag or if you use straight stitch use a 1.5cm seam allowance and press the seams open.

Step 3 - Open out the bag and refold one of the bag-base corners so that the ends of the side and bottom seams line up. Pin the 2 together with the seam allowances aligned and machine stitch 1.5 cm from the edge. Overlock, zig zag or straight stitch. Stitch the other corner in the same way.

Step 4 - Turn the bag right side out. Fold over and press a 3cm turning around the top edge, then machine stitch it in place 3mm from the fold. Straight stitch.
Step 5 - Press the handle pieces in half lengthways with wrong sides together. Then unfold, turn the raw edges to the centre and press. Press under a 1cm at each end. Refold in half and machine stitch 3mm from each long edge.

Step 6 - Pin down your handles in place, 15cm from each side seam and aligned with raw edge of hemmed top edge of bag.

Machine stitch handles into place, I used straight stitch but reinforced each line of stitching twice.
Optional - I added some trim to the top edge of the bag. Pin it on and machine stitch in place.

Step 7 - For the pocket piece press under a 1cm turning along the side and bottom edges. Then press and double 1cm hem along the top edge and machine stitch this is place. straight stitch.

Step 8 - Pin the pocket centrally to the right side of one of the lining pieces , 9cm from the top edge. Machine stitch the pocket to the lining along the sides and bottom 3mm from the fold.

Step 9 - Stitch together the 2 lining pieces right sides together, exactly as you did for main bag pieces. (Steps 2 & 3)
Step 10 - Press back a 4cm turning round the top of the lining.

Step 11 - Slip the lining inside the bag, matching the side seams. Pin top edges together, so the lining sits just 1cm from the top edge of the bag. Slipstitch by hand the lining to the bag.

and your done!

This bag is also reversible - double bonus!
Please leave feedback if you use the tutorial would love to know how you get on or if you have any questions I would love to help!
Yasmin - Elizabeth
XOXO
No comments:
Post a Comment